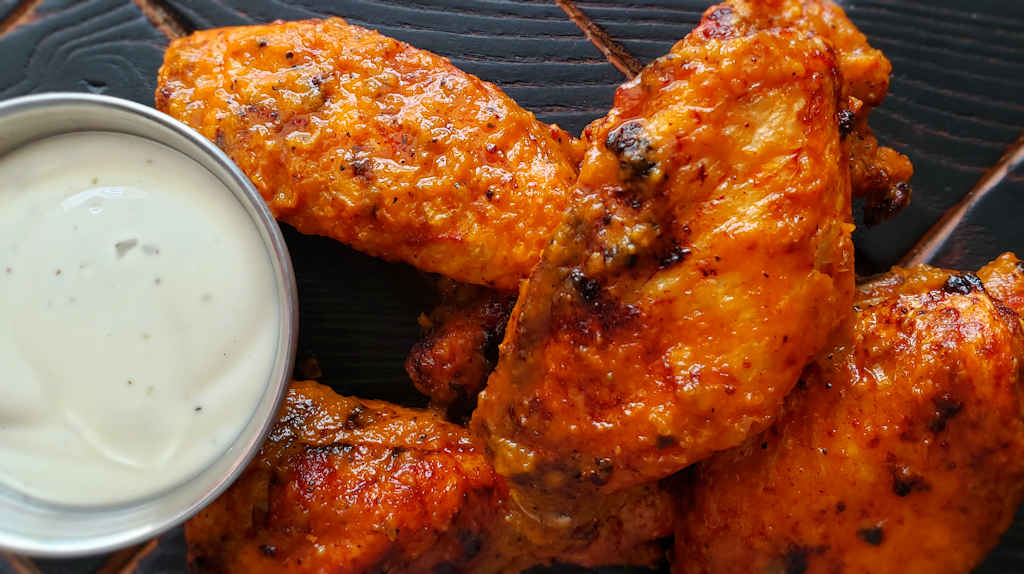
I’ve made a few wing dipping sauces that had tons of ingredients in them. You know, the ones that take a little bit of time to put together. This buttermilk blue cheese and chive dipping sauce isn’t one of those. A handful of ingredients makes for a great place to dunk your wings. Something to cool you off. There’s nothing huge going on here. Just creamy buttermilk richness with a little blue cheese and a hint of oniony goodness. Nothing too strong to overpower your wings, but great flavor nonetheless.
Dunk Away!
This buttermilk blue cheese and chive dipping sauce is a bit thinner than many. It pours out quite easily. You can add more blue cheese (or less buttermilk, depending on how you want to look at it) to make it thicker. But it’s ok thin, too. It’s also a great place to dunk those carrot and celery sticks you’re wondering what to do with.
This sauce is also fantastic on salads.
If you don’t have or can’t find chives, green onions work just as well!
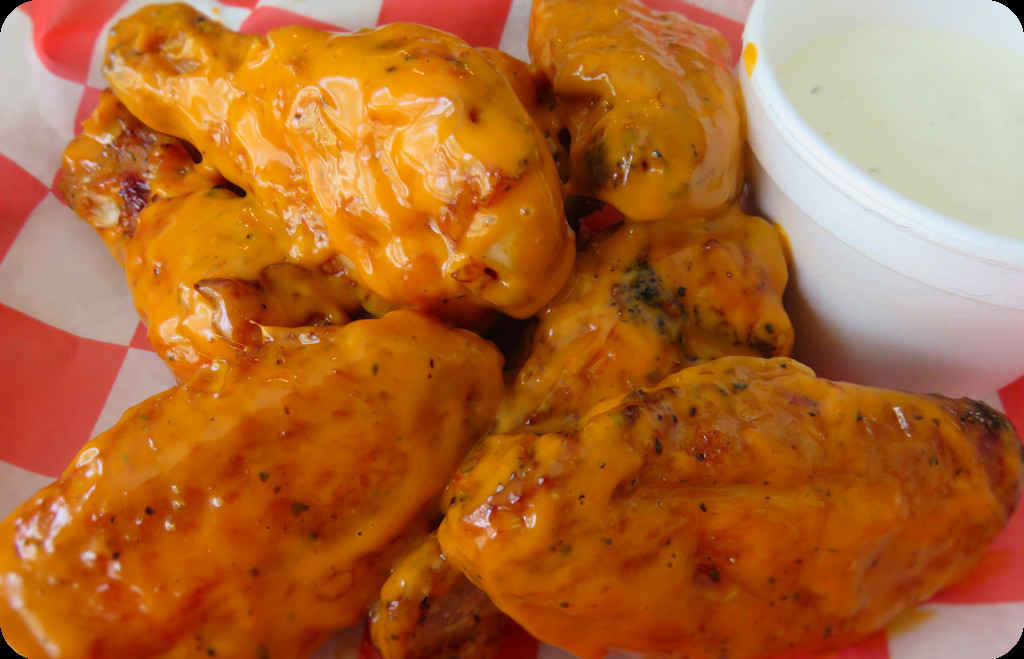
It’s as if someone at Frank’s RedHot was monitoring my dreams. Taking notes. Then, they created a sauce especially for me. Plenty of sweet, and plenty of heat. The stuff dreams are made of. And maple. Oh, maple. That wonderful aroma, with hints of vanilla and caramel. All I had to do was cook wings and add sauce to make my dreams come true. Frank’s RedHot Spicy Maple wings are the kind of wings that I wake up every day for. I could not get enough of them!
More. Or Less.
I made a batch of my easy air fryer wings. A little seasoning, and cook. Nothing fancy, nothing crazy. I left the flavors up to the sauce. These Frank’s RedHot Spicy Maple wings don’t need any help. You can put a little sauce for wonderful hints of sweetness, maple and spiciness. Or you can load up on the sauce and get a lot of everything. Your call. That’s why there’s a tomorrow. Do it one way today, and another tomorrow.
This sauce is also crazy good on chicken and waffles. Like big time crazy good.
Lightly spray the basket of your air fryer with non-stick spray. Preheat per manufacturer’s recommendation.
Combine the baking powder and wing seasoning. Sprinkle over the wings and toss to coat.
Add the wings to the basket (be careful it’s hot!). If you have trouble fitting them without overlapping, stand the drumettes along the sides of the basket.
Cook at 360 F for 12 minutes for large wings, 10 minutes for smaller ones.
Carefully flip the wings (rotate the drumettes if they are standing) and cook another 12 minutes again (10 minutes for smaller wings) at 375 F.
Flip the wings one last time. Increase the temperature to 390 F and cook another 6 minutes (4 minutes for smaller wings).
It was not ‘make some fancy fru-fru wing dipping sauce’ day here. I just wanted a nice Ranch dressing to go with my lunch-time wings. All I had to do was throw a few on-hand ingredients into a bowl, whisk, and throw it into the fridge overnight. I woke up the next day to wing-dipping happiness. A little herby. A lot creamy. And not so strong that it overpowered my wings. This creamy ranch dressing was all I needed!
Go Fresh… Ish
You can take one of two approaches when you make this creamy Ranch dressing. You can opt for using fresher ingredients. Grab some fresh parsley, dill and chives. You’ll get a nice, bright fresh dressing. Or you can grab the dried herbs and get a just-as-tasty dressing that’s a little easier and uses ingredients you might already have on-hand. That’s what I did. Whichever way you go, you’ll be happy too!
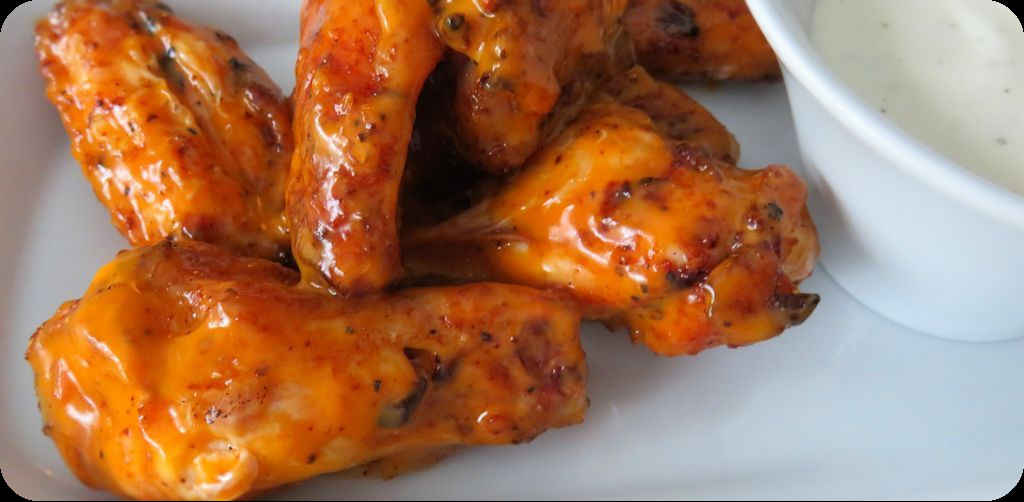
Earlier this week I made my homemade (sorta) Arby’s roast beef sandwiches. Instead of making my own, I picked up a bottle of Arby’s sauce at the grocery store. For days, every time I opened the fridge, that half-used bottle was staring at me. Calling me. “What should I do with it?” I thought. Well, only one answer came to me: “Make a wing sauce!”. So I did. And that’s how air fryer wings with Buffalo Arby’s sauce came to be. And they were a very good thing. That great Arby’s sauce tang, with a little Buffalo sauce inspiration and flavor added in. They might sound crazy because they were. Crazy good, that is!
Can You Buffalo-ize Anything?
These air fryer wings with Buffalo Arby’s sauce raises the question “Can you turn any sauce into a Buffalo wing sauce-like sauce?”. Maybe. I’ve certainly tried plenty of times. And usually I end up with something I like. And truth be told, it’s a great way to use up those half-bottles of sauces you’ve had in the fridge for a few weeks longer than you should’ve. Heck, what do you have to lose? Try them. You might just like them.
Yep, for extra heat, add more hot sauce. I was gonna say that earlier but forgot.
Lightly spray the basket of your air fryer with non-stick spray. Preheat per manufacturer’s recommendation.
Combine the baking powder, salt and pepper. Sprinkle over the wings and toss to coat.
Add the wings to the basket (be careful it’s hot!). If you have trouble fitting them without overlapping, stand the drumettes along the sides of the basket.
Cook at 360 F for 12 minutes for large wings, 10 minutes for smaller ones.
Carefully flip the wings (rotate the drumettes if they are standing) and cook another 12 minutes again (10 minutes for smaller wings) at 375 F.
Flip the wings one last time. Increase the temperature to 390 F and cook another 6 minutes (4 minutes for smaller wings).
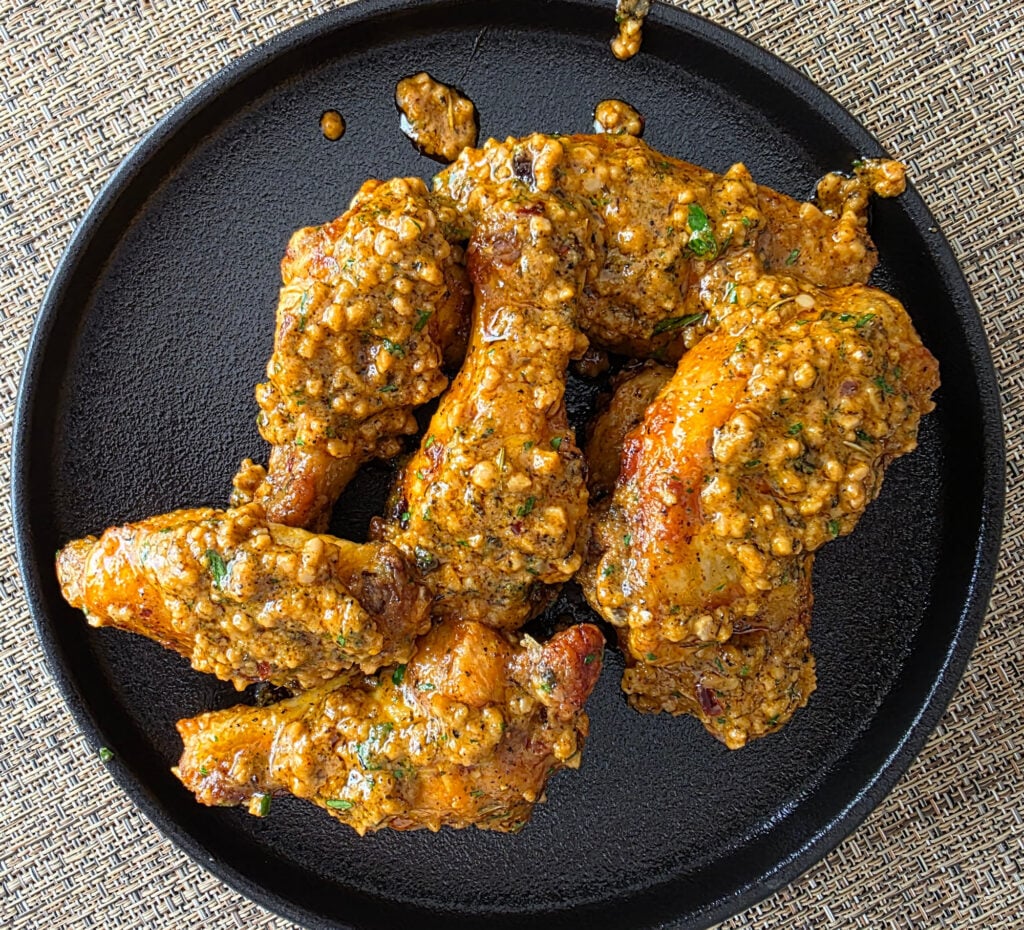
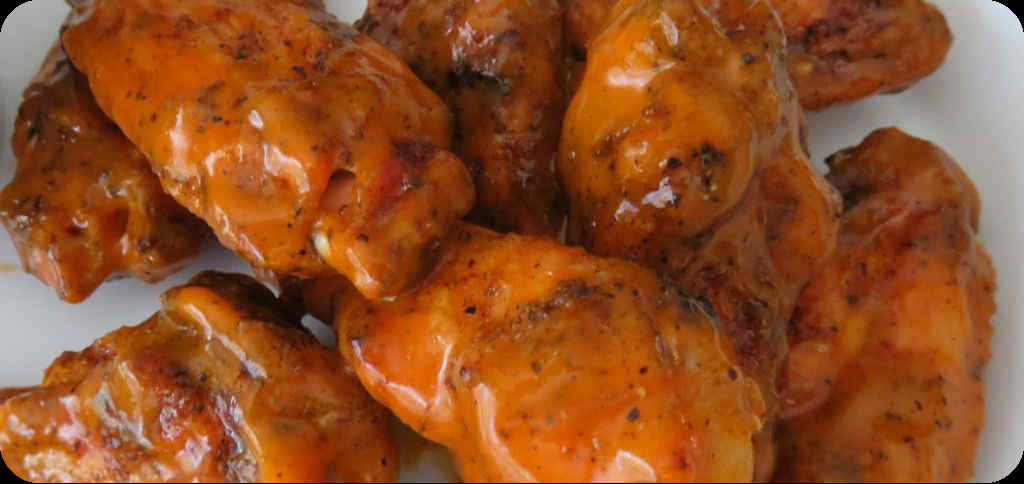
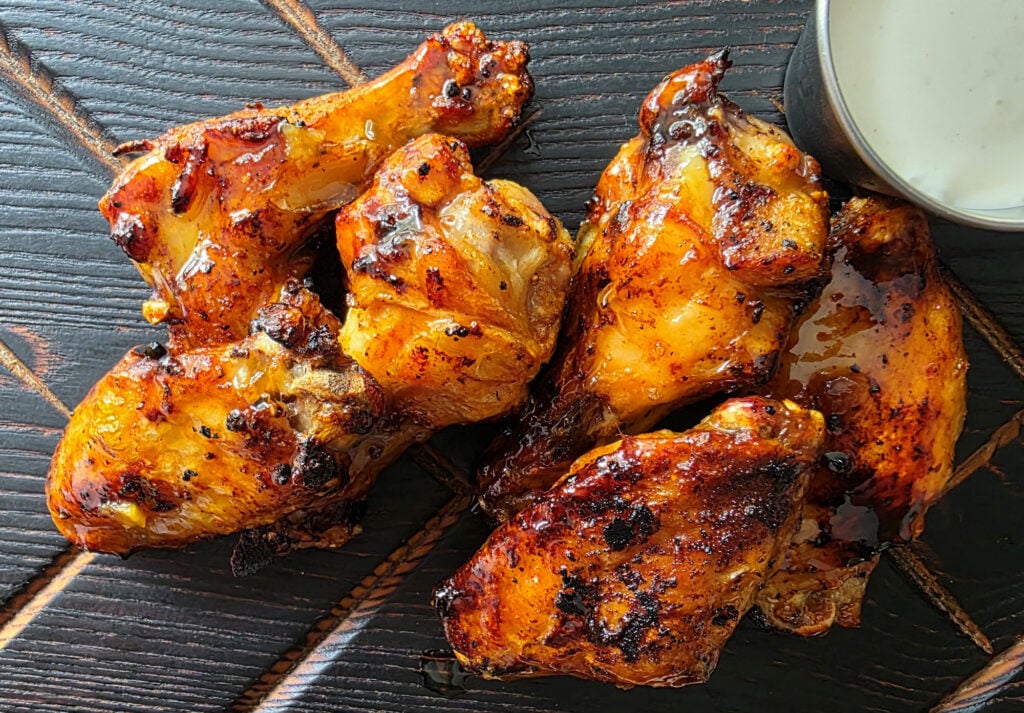
Why do I keep doing this to myself? Why do I keep making wings that are so good that I can’t stop eating them? I keep thinking I’ll have a sandwich tomorrow for lunch, but it never happens. Not when there are wings to be had, like these jalapeno pepper jelly wings. These were great. Not complicated, but great. And messy. Good and messy. The finger-licking kind of messy.
The key to these jalapeno pepper jelly wings is the jelly. Use a good one. A really good one. One with pepper chunks in it. The real stuff. You know what? Buc-ee’s has fantastic pepper jelly. Not just jalapeno, either. And the price is right, too. I backed up the truck last time we were there. Loaded up. Got them all. They’re not only great on wings, they’re delicious over smoked cream cheese. Or on a peanut butter sandwich (that I never have, because I keep making wings).
These wings weren’t super-spicy. Not at all. Now, they could be. It’s all up to the jelly you use. The one from Buc-ee’s is pretty tame but you’ll notice some heat. I’d call it a ‘nice’ level of spiciness.
Place wings on foil (place the flats skin-side down) and bake 25 minutes.
Flip the wings and bake another 20-25 minutes or until golden brown. If you want a slightly crispier skin, place under the broiler for a few minutes.
While the wings are baking, place the jelly, vinegar and butter into a small saucepan over medium heat. Stir until butter melts and the jelly is well-combined. Keep warm until ready to use.
When the wings are done, remove from the oven and transfer to a large bowl.
Drizzle with the sauce and turn to coat.
Notes
Serve with your favorite dipping sauce on the side, if desired.
These are my favorite garlic parmesan wings. Some are homemade sauces. Some are store-bought sauces. All are great and all have a wonderful garlicky flavor along with yummy nutty parmesan! Enjoy!
1
Baked Garlic Parmesan Wings
Make sure you shake off any excess butter after dipping the wings.
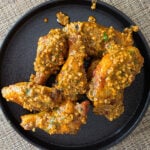
I could never get tired of good-old deep-fried wings. I like mine nice and crunchy. I’ll take a thick batter. Or a thin. Or none. But I’m also open to something new. Like these Brazilian-style deep-fried wings. On the outside they may look pretty much like your standard coated-and-fried wing. But that first bite changes your mind about that. Still great crunch. But with a citrusy lime flavor. Different. Not what you were expecting, but really good. A little red pepper flakes add a bit of heat. And deep-fried garlic slivers too? Wow. These are great wings.
Fried Garlic Chips?
Ok, I almost didn’t make the fried garlic slivers when I made these Brazilian-style deep-fried wings. I thought they’d be cool but not really add much. But then I talked myself into it. The deep-fryer was already going, I figured. And it only took a few seconds to slice them. So into the fryer they went, until golden brown. They really did add another taste dimension to the wings. A really nice crunch and garlic flavor. A good contrast to the lime both infused by the marinade and by the fresh lime wedges squeezed over the tops of the fried wings.
Whisk together all ingredients in a large bowl or resealable container.
Add the wings and toss to coat.
Cover and refrigerate for 1-4 hours.
For the Wings
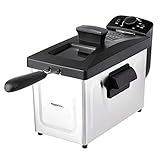
Heat 3" of oil in a Dutch oven or deep fryer to 350 F.
Remove the wings from the marinade and pat dry with a paper towel.
Place flour in a large bowl and stir in the salt. Add the wings. Toss to coat.
Working in batches if necessary, fry the wings 8-10 minutes or until they reach 165 F. Transfer to a rack over a baking sheet or a paper towel-line plate to drain.
Add the garlic slices and fry until golden brown. Also remove to a paper towel-lined plate to drain.
Serve wings garnished with the fried garlic, red pepper flakes, parsley and lime wedges on the side.
Squeeze a little lime over the wings before devouring.
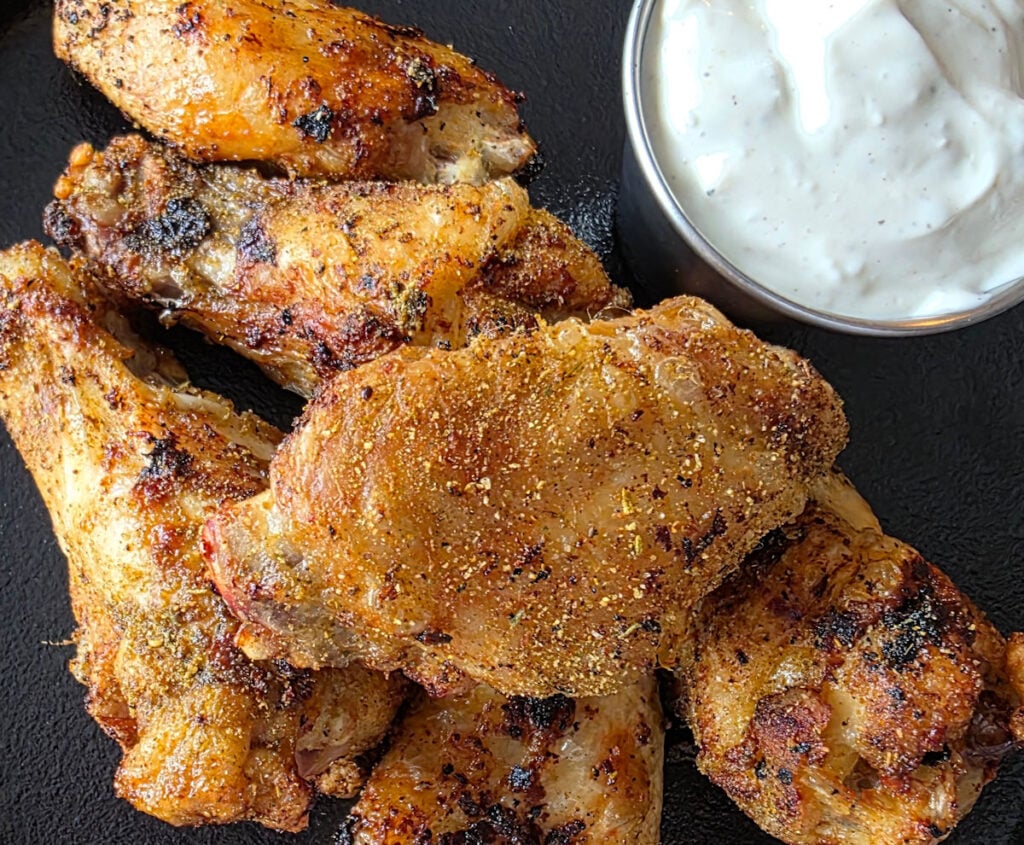
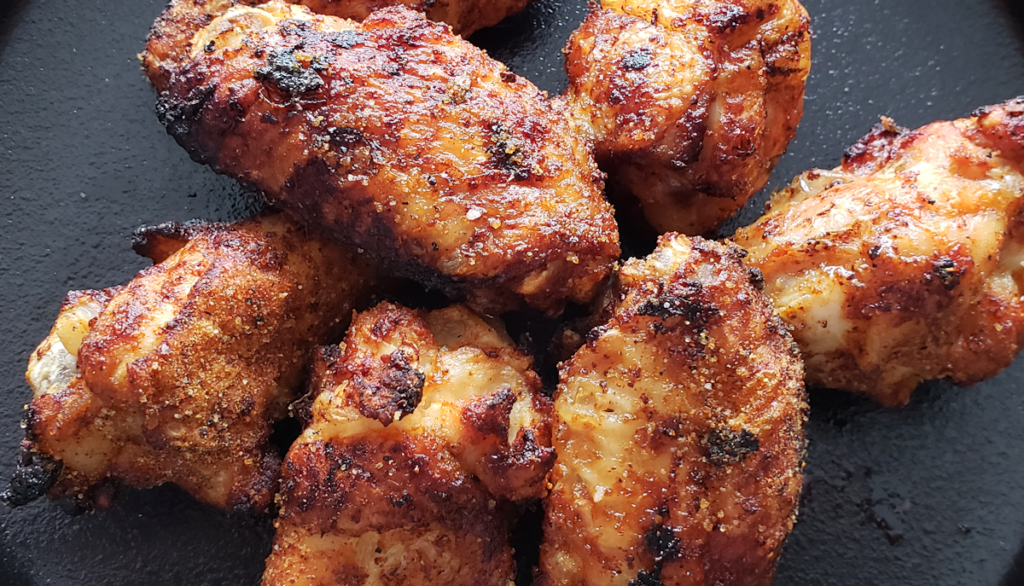
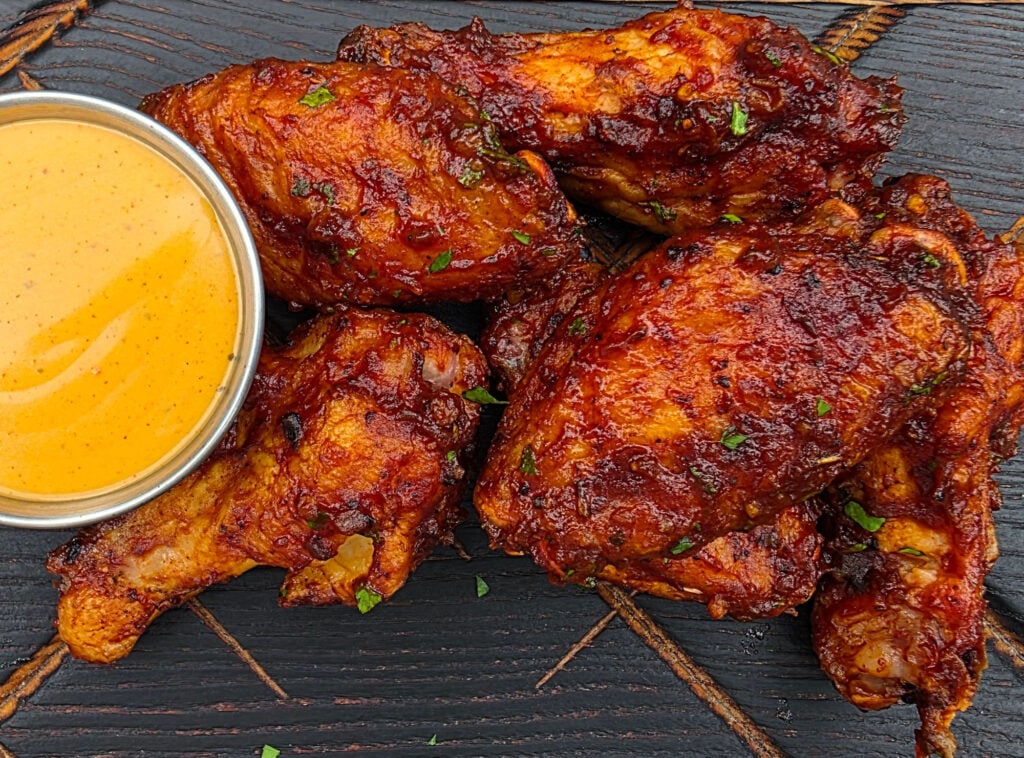
This is Part Two of: Have you seen those machines you can buy to make your house smell good? Why do you need one of those smell-making machines when all you need to make your home smell outrageously fantastic is to make some of these dry wings? You get the homestead smellin’ good and you can enjoy some delicious wings! The first part was with Dan-O’s Original Seasoning. Now, it’s time for some Dan-O’s Spicy Seasoning dry wings. How much more of a win-win could you need? Or want?
Herby And Spicy Deliciousness
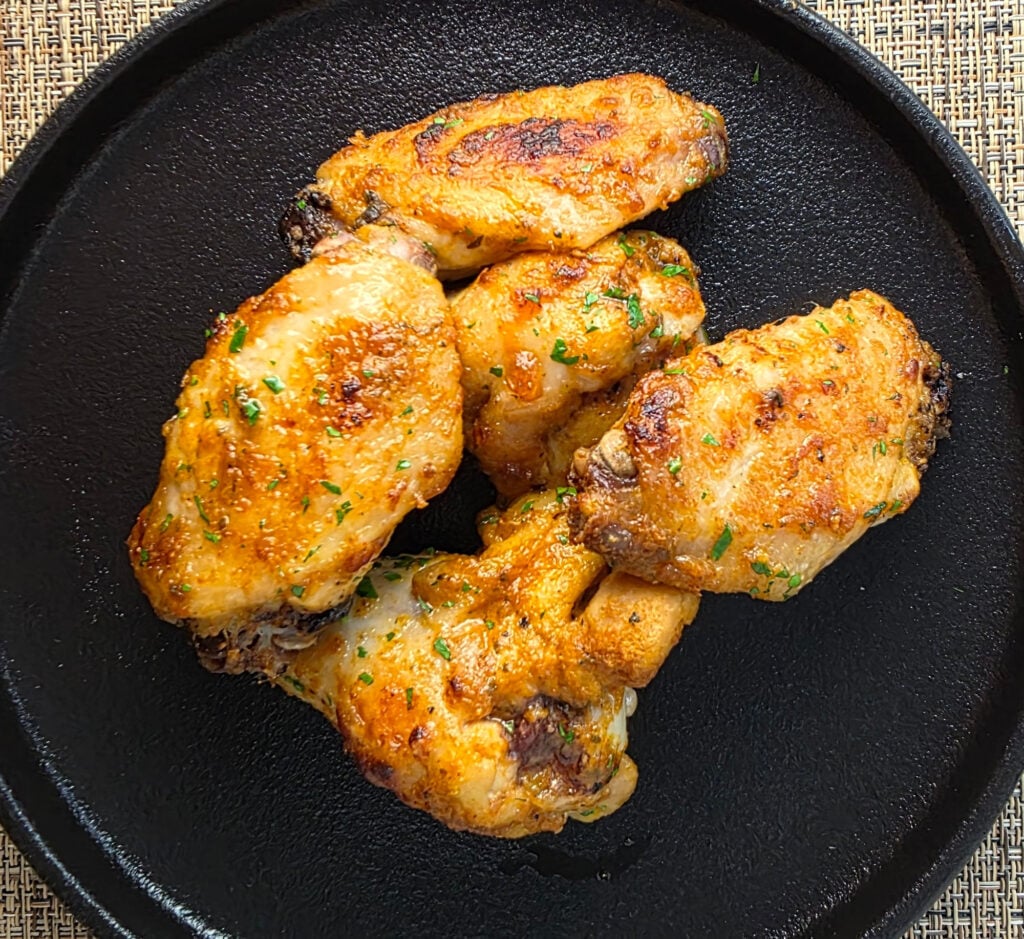
Dan-O’s Spicy Seasoning was invented for poultry. It’s full of the good stuff that you might normally find on a roast turkey or chicken. Well, don’t forget the wings! These Dan-O’s Spicy Seasoning dry wings are what roasted wings should be. Crispy skin. Wonderful herby flavors. Moist, tender meat. Oh and just a little kick. Not overwhelming, but a little spiciness to wake you up!
I Love Dry Wings
I’m a huge fan of dry wings. They’re hard for me to resist. I love them seasoned heavily. I love that great crunchy skin. Usually, I season my wings before cooking and then again after for extra flavor. For these wings, however, I go with one good, healthy seasoning beforehand. That’s it. No post-cook seasoning required or needed. These are great wings without more, no need to bury them in it!
Season the wings with the mix. Let rest 30 minutes.
For the air fryer
Preheat your air fryer to 350 F.
Working in batches if needed, air fry the wings for 12 minutes.
Flip the wings and air fry another 12 minutes.
Turn the air fryer temperature to 400 F and fry another 6 minutes or until the wings are golden brown.
For the oven
Preheat oven to 400 F.
Lightly spray a baking sheet with non-stick spray. Or line with foil.
Add the wings and cook 20 minutes.
Flip and cook another 20 minutes.
Check for doneness. For crispier wings, flip and cook another 10-20 minutes.
Notes
I prefer to season my wings immediately after cooking them. The seasoning will stick to the surface of the hot wings better than if you wait until they cool off.
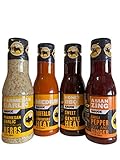
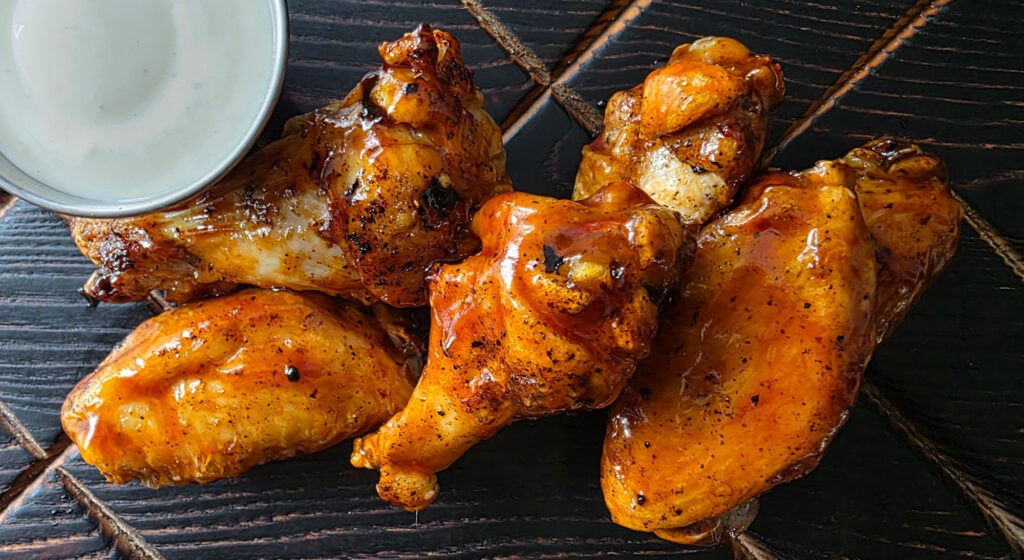
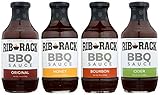
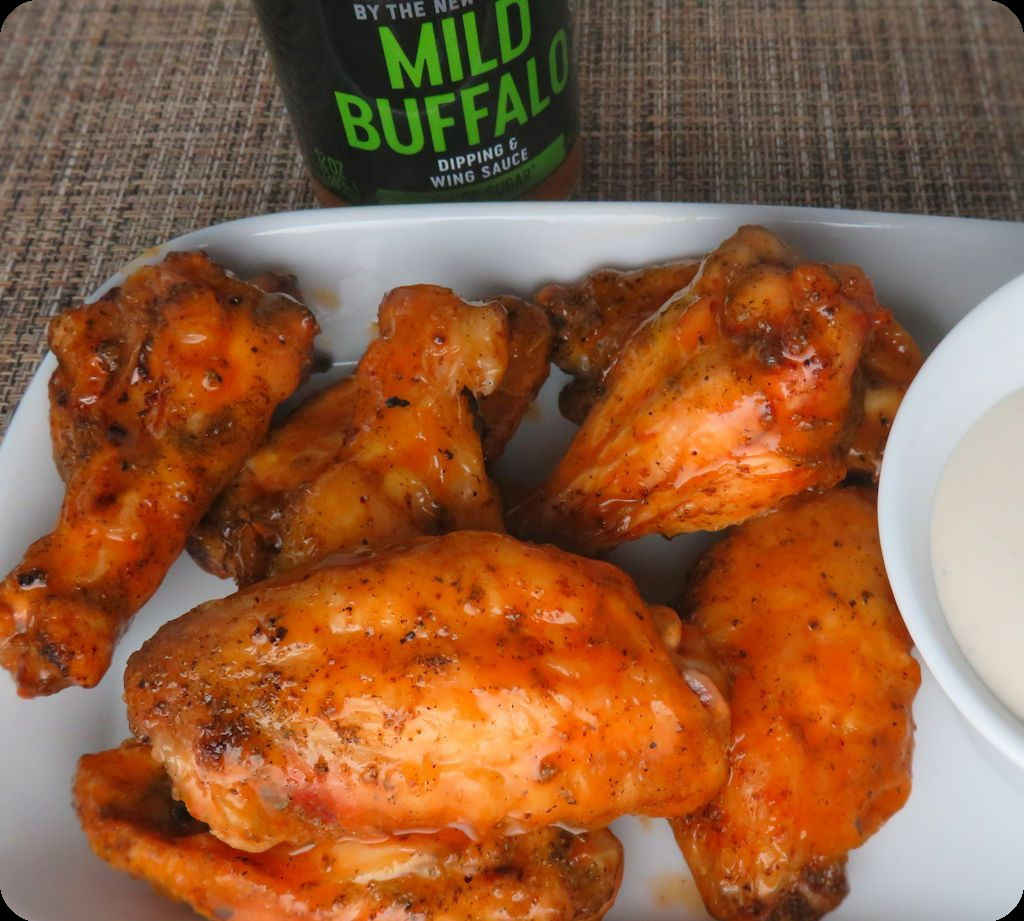
If I have the same wing sauce four days in a row you can darn sure bet it’s a sauce that I love. I just could not get enough of Country Bob’s Smoked Garlic and Brown Sugar wings. I picked up a variety pack of Country Bob’s wing sauces not knowing just how much this sauce would quickly become one of my all-time favorites. The garlic has a rather savory taste to it. Not harsh or overly garlicky. The brown sugar helps, adding a touch of sweetness. This is a thinner, tomato and vinegar sauce that is just great on wings.
Get Some Wings
It doesn’t really matter what wings you use when you make some Country Bob’s Smoked Garlic and Brown Sugar wings. Of course, you don’t want bad wings. But deep-fried, air-fried, baked… grilled… doesn’t really matter. Even those frozen ones that are already battered (don’t grab the flavored ones!). You’re after this sauce. Don’t use wings that’ll fight it. Nice, plain ole wings will do just fine.
Note: If your wing sauce is refrigerated, set it out on the countertop before starting the wings so that it warms up a bit. You don’t want to put cold sauce on hot wings.Note: The full 30 minute cook time is for large, meaty wings. If your wings are a bit thinner (er… scrawny) back the times down to 10/10/4 minutes instead of 12/12/6 minutes.
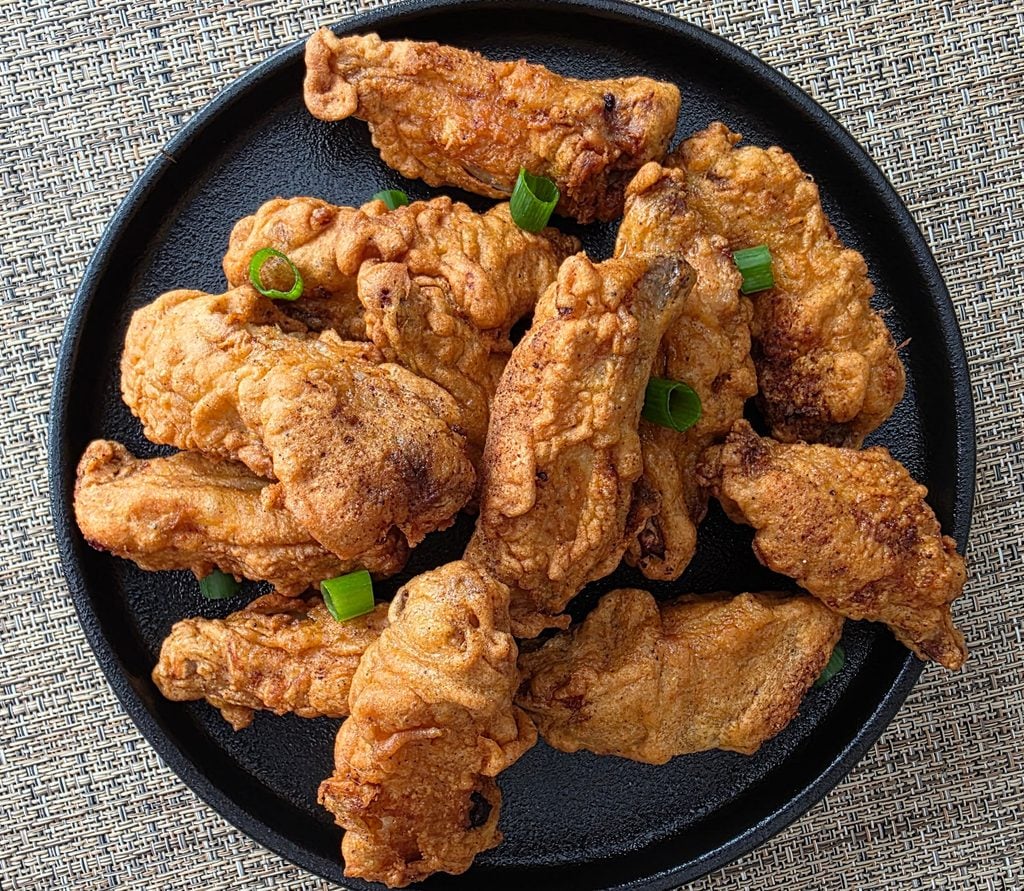
I started For the Wing because I love wings. The sauces, the spices, and the cooking techniques for wings are so varied that you can always enjoy something different. Or you can make a favorite over and over. Nothing makes me happier than a truly tasty, perfectly-cooked wing. And nothing makes me happier than the best smoked and fried wings I made the other day. These wings have everything I love. Super-crunchy and delicious skin and tender, juicy, flavorful meat make every bite truly enjoyable. Sauced or not, these wings are epic.
It’s Actually Easy
Making the best smoked and fried wings is actually pretty easy. It’s a two-step process. I did the two steps weeks apart, freezing the smoked wings in vacuum-packed bags for quick lunches at a later time. You can fry the wings soon after smoking them but I think having them freeze for a while first produces a better result. You don’t have to vacuum-pack them, you can just toss them in a resealable bag or container instead, especially if you don’t plan on freezing them very long.
Just Smoked
You can smoke wings over high heat and get (somewhat) crunchy skin and have a great treat. These wings are not smoked at a high temperature. You want to cook them until just done. You want to get them nice and smoky (how smoky is up to you) but you are not shooting for crisp skin. That comes later. So don’t expect the skin to come away golden brown crunchy delicious. Yet.
Flash-Fried For Crunchy Perfection
The last step in preparing these wings is a quick flash-fry in hot oil. If frozen, the wings have been defrosted. I toss them in a simple flour mixture. But I’m not looking for grandma’s fried chicken here. Just a light coating. Then into the oil for around 4 minutes. Remember, the wings are already cooked. The frying step is just to heat them up and give them color and the perfect skin. You don’t want to over-fry them.
Sauced. Dry. Or Just Plain.
What you do with your wings after they are flash-fried is up to you. Sometimes I toss them (gently) in a sauce. Or I’ll season them and have them dry. The wings are so great they are also a joy without either sauce or seasoning. You can always mix it up, do some wet, some dry, and some plain!
Fire up your smoker for 225 F. Use a fruit or light wood for a less smoky wing, or use a heavier wood, such as mesquite or oak, for a deeper smoke flavor.
While the smoker is coming up to temperature, toss the wings in seasoning.
Transfer the wings to the smoker when ready. Smoke until the wings hit 145 F. This normally takes 1-2 hours. It's ok if you go a little over 145 F.
Remove the wings and let cool slightly before placing into resealable bags or containers. Freeze overnight or until ready to use.
Frying
The day before you are ready to cook your wings remove from the freezer and let thaw in the fridge.
Combine the coating mixture in a bowl or baggie.
Heat 2"-3" of oil to 375 F.
Working in batches if needed, toss the wings in the coating mixture then transfer to the oil.
Fry 4-6 minutes or until the wings are golden brown and the skin is crunchy.
Remove to a paper towel-lined plate or wire rack to drain.